Easy No-Knead Focaccia: Your Same-Day Guide to Artisan Bread
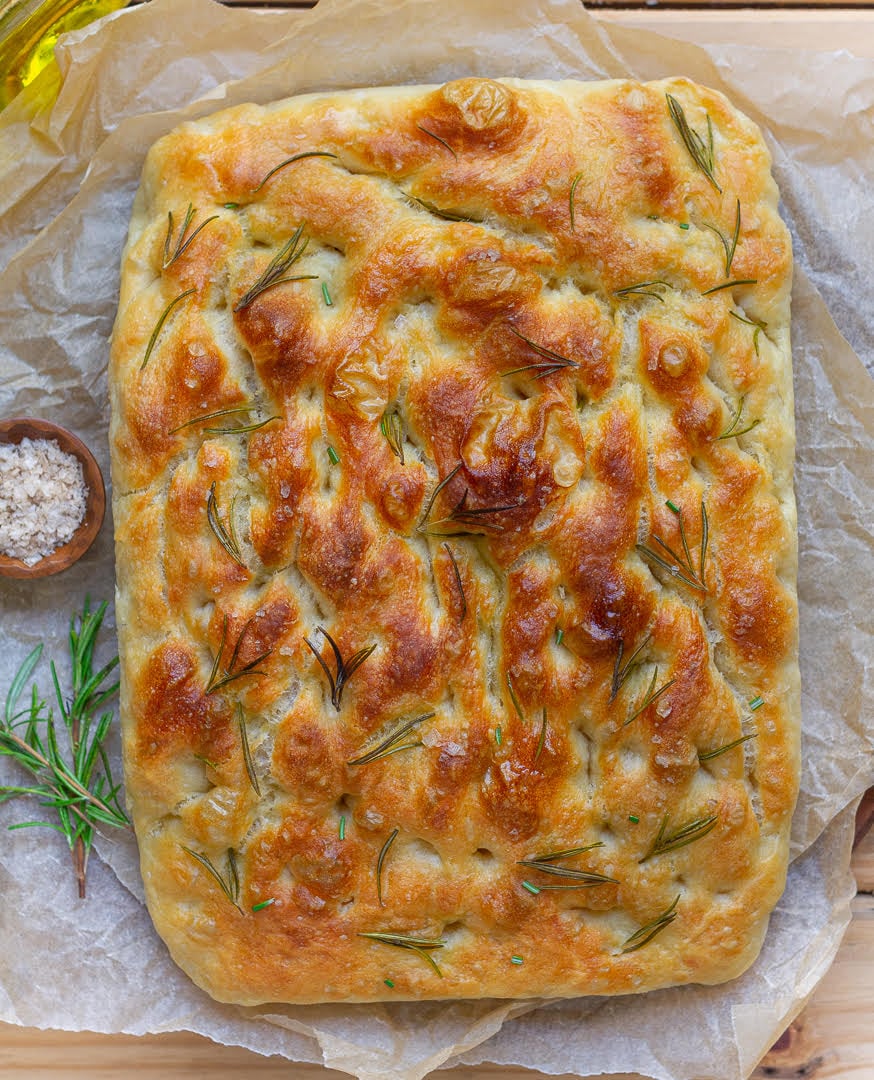
Imagine pulling a warm, aromatic loaf of focaccia from your oven – golden, dimpled, and glistening with olive oil, ready to be torn and devoured. Sounds like a dream reserved for experienced bakers, right? Think again! This guide to easy homemade focaccia is specifically designed for beginners, promising a shockingly simple, no-knead method that delivers tender, fluffy bread with a perfect golden crust, all in under four hours. Yes, you read that correctly: same-day focaccia, no lengthy overnight proofs required!
I've personally put this recipe through its paces countless times, refining the flour-to-water ratio to ensure a perfect texture, a straightforward process, and consistently delicious results every single time. It's the kind of crowd-pleaser that disappears rapidly at any gathering, a testament to its irresistible charm. So, if you've ever felt intimidated by yeast or the idea of baking bread from scratch, this recipe is your gateway to success. With just a few quick folds during its rise and no special equipment, you'll soon be baking a focaccia that’s both beautiful and unbelievably tasty.
Why This Is Your Go-To Easy Homemade Focaccia Recipe
Preparing a delicious loaf of bread doesn't have to be an all-day affair, nor does it require a culinary degree. This particular focaccia recipe stands out for several compelling reasons, making it the ultimate choice for anyone craving that artisan bread experience without the fuss:
- Same-Day Satisfaction: Forget overnight fermentations. This no-knead focaccia dough comes together quickly and builds its signature puffy, bubbly structure through a series of short resting periods and simple folds, meaning you can mix in the morning and enjoy by dinner.
- Perfect for Beginners: Seriously, zero yeast bread experience is needed! This recipe simplifies the bread-making process down to its most essential steps, proving that anyone can achieve a truly great focaccia.
- No Special Equipment Needed: You won't need a stand mixer, dough hooks, or any heavy kneading. A large bowl, a sturdy spoon, and your hands are all the tools you'll require. This makes cleanup a breeze and keeps the process wonderfully low-tech.
- Mostly Hands-Off: Aside from a few quick stretch-and-folds and the satisfying dimpling process, the dough largely ferments on its own while it rests. This allows you to go about your day while your bread masterpiece is quietly developing its flavor and texture.
- Fluffy Inside, Golden Crust: The magic lies in the generous use of olive oil, ample rising time, and a straightforward baking method. This combination guarantees a crisp, golden bottom, a pillowy, airy crumb, and those irresistible chewy edges.
- Endlessly Customizable: While spectacular on its own, this focaccia is a blank canvas for your culinary creativity. Top it with classic rosemary and flaky salt, olives, herbs, cheeses, or whatever your heart (and pantry) desires. The possibilities are truly boundless.
This is truly the easiest homemade focaccia you'll ever bake, consistently delivering results that will impress both yourself and anyone lucky enough to share a slice.
Essential Ingredients for Your Perfect Focaccia
The beauty of this simple recipe lies in its minimal, high-quality ingredients. Each component plays a vital role in creating the iconic taste and texture of focaccia. Understanding their purpose will help you master this simple homemade focaccia with ease.
- All-Purpose Flour: This is the foundation of our dough, providing the necessary structure and chewiness. While bread flour can be used for an even chewier texture, all-purpose flour works beautifully and is readily available. When measuring, spoon your flour into the measuring cup and level it off with a straight edge to avoid packing it too tightly, which can result in a dry dough.
- Water: Crucial for activating the yeast and hydrating the flour to form the dough. The temperature of the water is key here – aim for around 110��F (43°C) for active dry yeast. A kitchen thermometer is incredibly helpful for accuracy, as water that is too hot can kill the yeast, and water that is too cold won't activate it effectively.
- Yeast: Your leavening agent! Either active dry or instant yeast will work. If using active dry yeast, you'll need to "bloom" it by letting it sit in warm water for about 5 minutes until it becomes foamy. This confirms your yeast is alive and active. Instant yeast, on the other hand, can be stirred directly into the warm water without blooming. Always check the expiration date on your yeast for best results.
- Sea Salt: More than just a flavor enhancer, salt plays a critical role in dough strength and fermentation control. It helps tighten the gluten structure and slows down yeast activity, leading to a more flavorful bread. Flaky sea salt is particularly wonderful for sprinkling on top before baking, adding a delightful textural contrast and burst of flavor.
- Extra Virgin Olive Oil: The secret weapon of focaccia! High-quality extra virgin olive oil adds rich flavor, contributes to a tender crumb, and helps create that signature crisp, golden crust. You'll use it generously in the dough, to coat the pan, and as a final drizzle before baking. Don't skimp here – the better the olive oil, the more delicious your focaccia will be.
- Optional Toppings: This is where you can truly make your focaccia your own!
- Herbs: Fresh rosemary and thyme are classic choices.
- Salt: Flaky sea salt adds texture and enhances flavor.
- Olives: Kalamata, Castelvetrano, or any pitted olives you love.
- Garlic: Thinly sliced raw garlic, or roasted garlic cloves for a milder flavor.
- Cheeses: A sprinkle of Parmesan or a few dollops of fresh mozzarella.
- Vegetables: Thinly sliced cherry tomatoes, bell peppers, or caramelized onions.
- Spices: A pinch of black pepper, chili flakes, or a drizzle of chili oil.
- Pesto: Swirl in some fresh pesto before baking for an extra layer of flavor.
Mastering the No-Knead Focaccia Process
The beauty of this easy homemade focaccia lies in its simplicity. Follow these steps, and you'll be enjoying warm, artisan bread in no time.
1. Prep the Yeast Water
If using active dry yeast, combine it with 110°F (43°C) water in a large bowl. Let it sit for about 5-10 minutes until it becomes frothy and bubbly. This indicates your yeast is active and ready to work its magic. If you’re using instant yeast, simply stir it into the warm water and you can proceed directly to the next step. If your active dry yeast doesn't foam, it might be expired or your water temperature was off; it’s best to start with a fresh batch.
2. Mix the Dough
To your yeast/water mixture, add the all-purpose flour, sea salt, and about half of your extra virgin olive oil. Stir with a sturdy spoon or a rubber spatula until all the ingredients are thoroughly combined and no dry pockets of flour remain. The dough will be quite sticky and shaggy – this is perfectly normal for a high-hydration, no-knead dough. Resist the urge to add more flour at this stage, as it can lead to a dense focaccia.
3. First Rest & Stretch-and-Folds
Drizzle a little more olive oil over the surface of the dough, then cover the bowl with plastic wrap or a damp kitchen towel. Let the dough rest for 30 minutes at room temperature. After this initial rest, it's time for the first set of stretch-and-folds. Lightly wet your hands (this prevents sticking), then gently grab a portion of the dough from the edge of the bowl, stretch it upwards, and fold it over to the center. Rotate the bowl a quarter turn and repeat this motion 3-4 times around the entire dough. This simple action helps to develop the gluten structure without any vigorous kneading. Cover and let it rest for another 30 minutes. Repeat this stretch-and-fold process 2-3 more times, with 30-minute rests in between. You'll notice the dough becoming smoother and more elastic with each set of folds.
4. Bulk Fermentation (Second Rise)
After your last set of folds, drizzle the dough with a final bit of olive oil, cover the bowl again, and let it rise in a warm spot for 1-2 hours, or until it has noticeably doubled in size and looks bubbly. The exact time will depend on the temperature of your kitchen. This is the stage where the dough develops most of its flavor and airy structure. For more tips on achieving that perfect fluffy texture, check out Bake Fluffy Focaccia Today: The Secret to No-Knead Deliciousness.
5. Prepare the Pan & Transfer the Dough
Generously grease a 9x13 inch baking pan (or a similar size) with plenty of extra virgin olive oil. This is crucial for preventing sticking and contributing to that wonderfully crisp bottom crust. Gently transfer the risen dough into the prepared pan. Try to avoid deflating it too much. Use your oiled fingertips to gently stretch and coax the dough to fill the pan, being careful not to tear it.
6. Dimple & Final Proof
Once the dough is spread in the pan, generously drizzle the top with more olive oil. Now for the fun part: dimpling! With oiled fingertips, gently press straight down into the dough, creating deep indentations all over the surface. These wells will hold pockets of olive oil and your chosen toppings, enhancing flavor and texture. Cover the pan loosely with plastic wrap or a clean kitchen towel and let it proof for another 20-30 minutes, or until slightly puffy again.
7. Top & Bake
Preheat your oven to 425°F (220°C). While the oven heats, sprinkle your chosen toppings (like fresh rosemary and flaky sea salt, or a combination of olives and cherry tomatoes) evenly over the dimpled dough. Give it one last generous drizzle of olive oil. Bake for 20-30 minutes, or until the focaccia is deeply golden brown on top and the edges are crisp. For even browning, rotate the pan halfway through baking.
8. Cool & Serve
Once baked, carefully remove the focaccia from the pan and transfer it to a wire rack to cool slightly. While it’s tempting to slice into it immediately, letting it cool for 10-15 minutes allows the internal structure to set, preventing a gummy texture. Slice, tear, and enjoy your incredible, easy homemade focaccia!
Customizing Your Focaccia: Endless Possibilities
Beyond the classic rosemary and sea salt, your easy homemade focaccia can be a canvas for endless flavor combinations. Here are a few ideas to spark your culinary imagination:
- Garlic & Herb: Mince a few cloves of garlic and mix with dried oregano, thyme, and a pinch of chili flakes. Sprinkle over the dimpled dough before baking.
- Mediterranean Delight: Top with pitted Kalamata olives, halved cherry tomatoes, a sprinkle of dried oregano, and crumbled feta cheese (add feta towards the end of baking to prevent it from burning).
- Sun-Dried Tomato & Pesto Swirl: After dimpling, spoon dollops of pesto onto the focaccia and swirl gently with a knife. Scatter chopped sun-dried tomatoes over the top.
- Caramelized Onion & Thyme: Slowly caramelize thinly sliced onions until golden brown and sweet. Spread them over the focaccia before dimpling, then sprinkle with fresh thyme.
- Spicy Chili Oil & Parmesan: Drizzle with chili oil instead of plain olive oil, then top with flaky sea salt and freshly grated Parmesan cheese.
No matter what you choose, remember that the foundation of a fantastic focaccia is a great base. This simple recipe provides just that, allowing you to experiment with confidence. For further insights into mastering this incredible bread, our article on Simple Homemade Focaccia: Master This Easy 4-Hour Recipe offers additional tips and tricks.
This easy homemade focaccia recipe isn't just about baking bread; it's about discovering the joy and satisfaction of creating something truly delicious and impressive with minimal effort. Its tender crumb, crisp crust, and versatility make it a perfect accompaniment to almost any meal, a delightful appetizer, or even a simple, satisfying snack. So, roll up your sleeves, gather your simple ingredients, and prepare to embark on a rewarding baking journey. You’ll be amazed at how quickly and easily you can bring this universally loved Italian bread to your table, proving that artisan quality is well within reach for every home cook.
